 P4 Software
/
logisticaHQ Client Portal
P4 Software
/
logisticaHQ Client Portal
The Client Portal is a private web page that you give to each of your clients. After they sign in, they see only their own stock, orders, Purchase orders, Invoices and reports. If you allow it, they can also place orders, send you Purchase orders and keep their own Products, Customers and Vendors up to date. This section is for the administrators of your logisticaHQ account who switch the portal on and support the people who use it.
| Area in the portal | What your client can do there | Access switch it needs |
| Dashboard | See key figures, charts and recent activity for their own company. | View Dashboard (each panel also needs its own switch) |
| Sales orders and Closed Sales orders | Follow outbound orders and their status. Place or change orders if allowed. | View orders & shipments, Place outbound orders |
| Purchase orders and Closed Purchase orders | Follow inbound Purchase orders. Create or change them if allowed. | View Purchase orders, Create Purchase orders |
| Invoices | Read and download posted Invoices. | View Invoices |
| Reports | See stock, stock detail by lot, serial and expiry, stock on pallets and cartons, and expiry dates. | View Inventory, View reports |
| Master data | See, and if allowed edit or import, their Products, Customers and Vendors. | View Products, View Customers, View Vendors and the three Manage switches |
Every client user sees only the data of their own client. The access switches are set for each user, not for the whole client. See Portal access switches for what each switch opens.
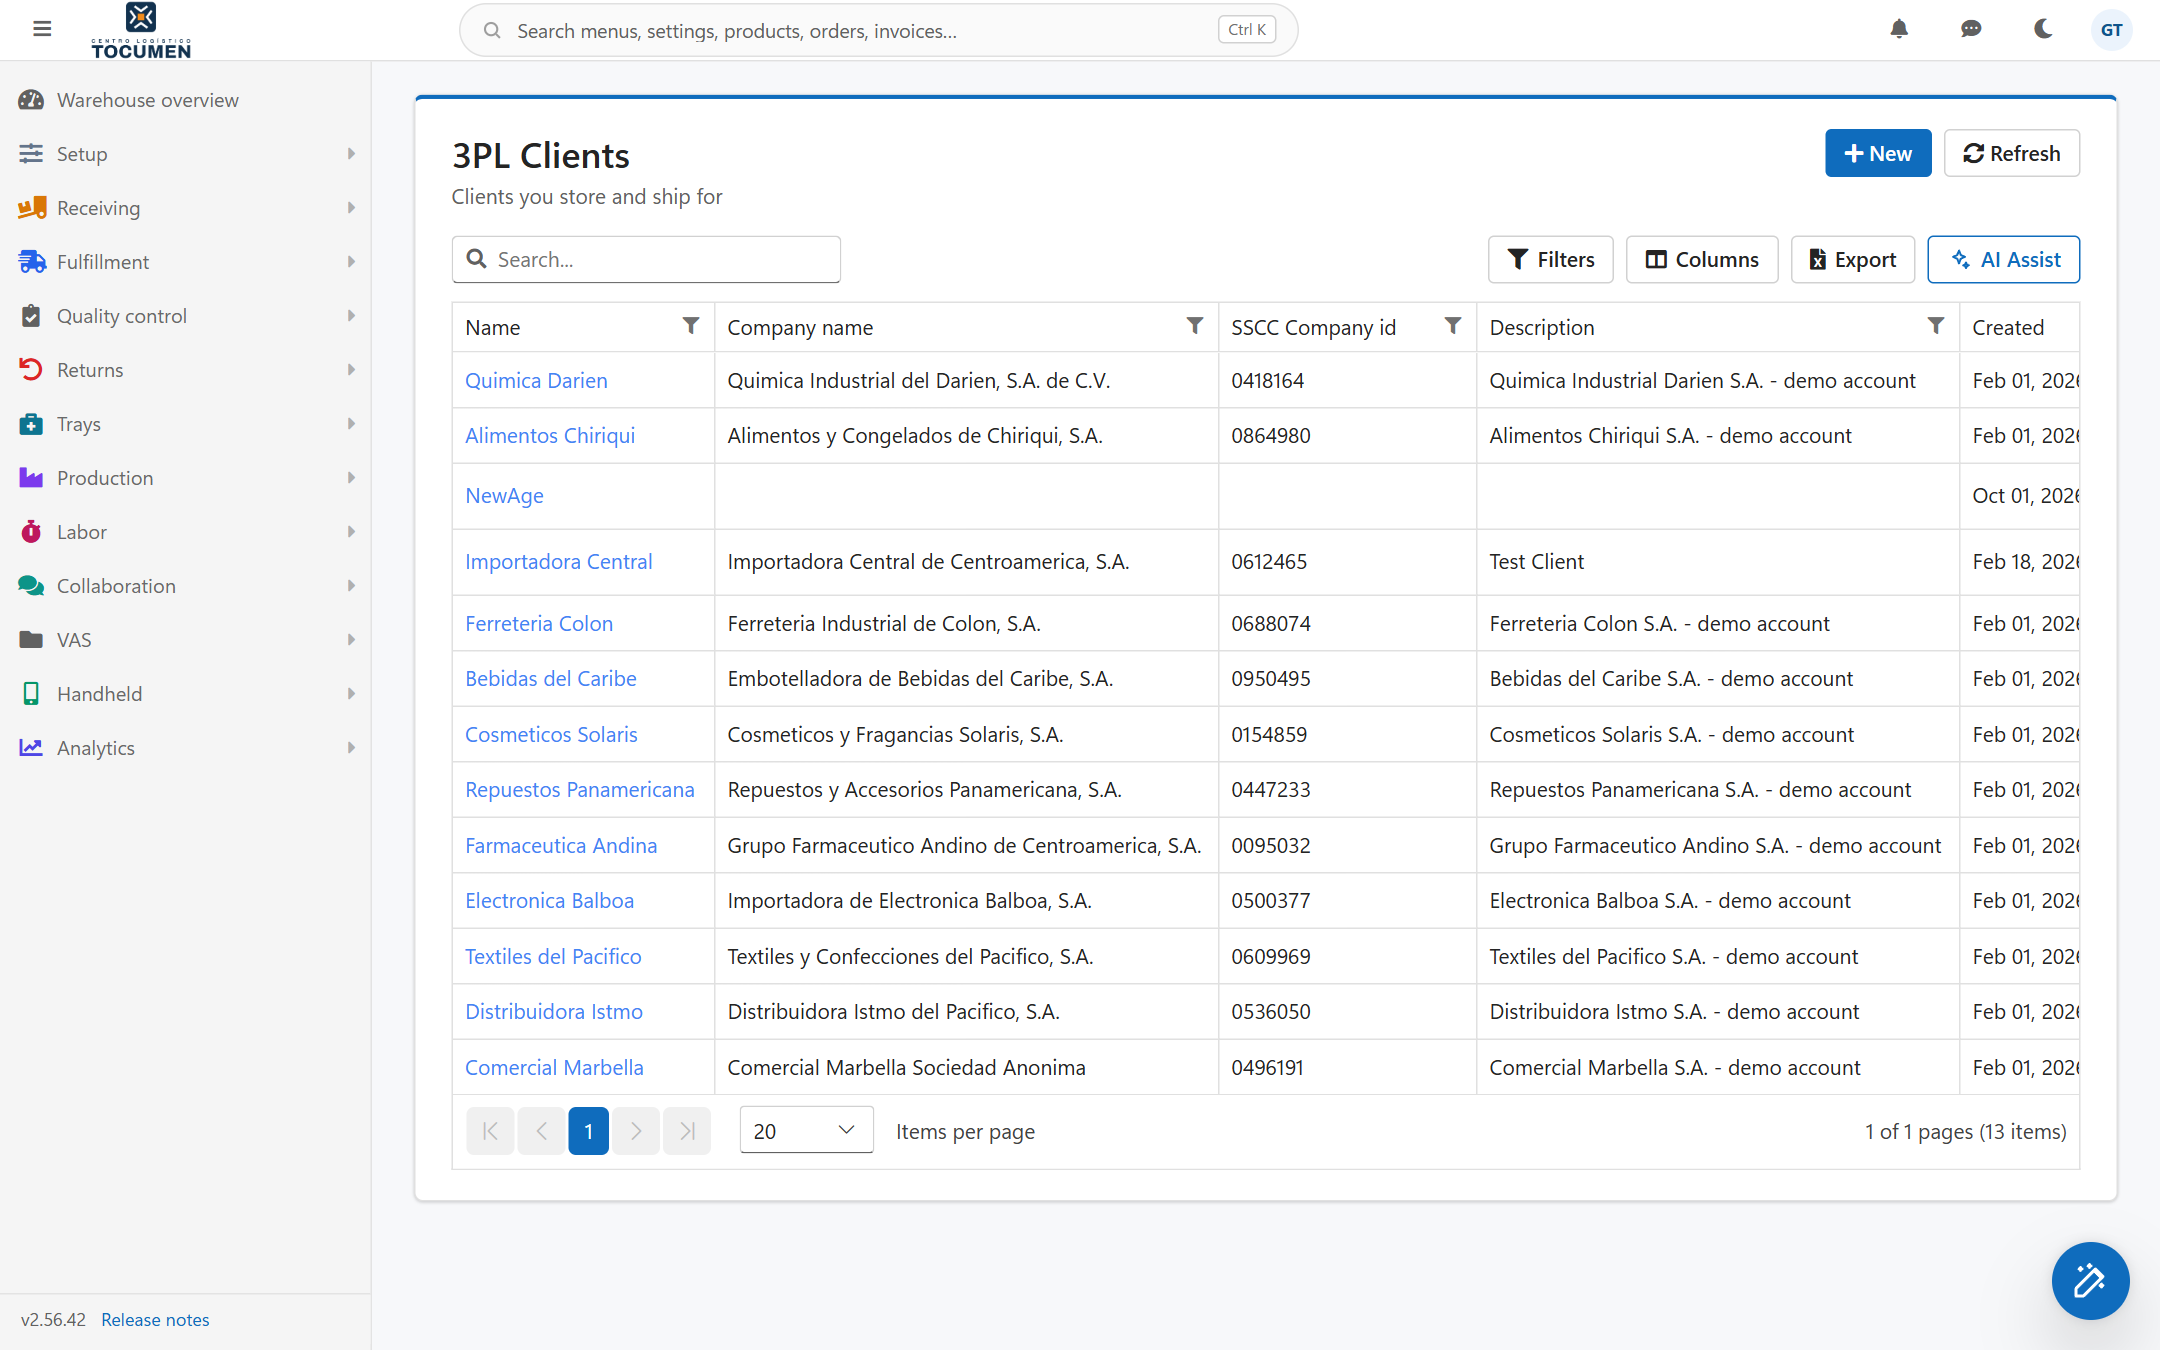
The list of clients under Setup, 3PL, Clients. Open a client to reach its Portal tab.
Was this page helpful?